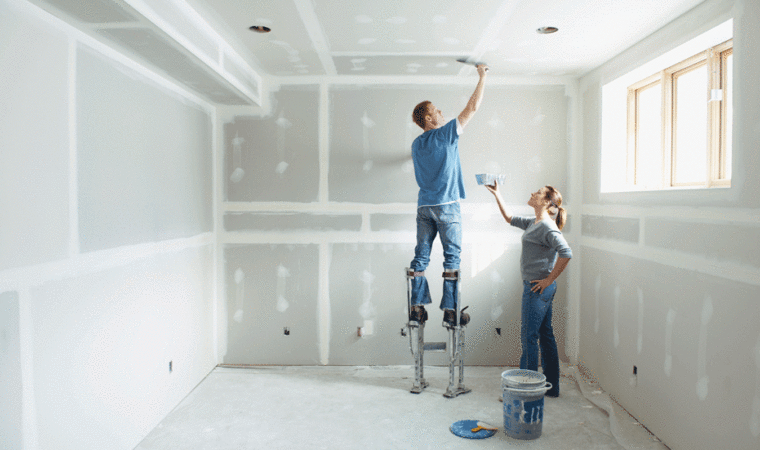
Plasterboard, known as drywall or gypsum board, is widely used for interior wall construction. Whether renovating your home or embarking on a DIY project, learning how to install plasterboard is essential. In this guide, we will walk you through the process step by step, providing valuable tips and tricks to help you do a fantastic job on your DIY project.
Gather the Necessary Tools and Materials
Before installing the drylining or plasterboard, ensure you have all the tools and materials required to complete the job. Here is a list of essential items you will need:
- Plasterboard sheets
- Screws or nails
- Screwdriver or hammer
- Utility knife
- Tape measure
- Spirit level
- Pencil
- Corner beads (optional)
- Joint compound
- Sandpaper
Measure & Mark
Start by measuring the dimensions of the wall where you will be installing the plasterboard. Use a tape measure to determine the length and height accurately. Mark these measurements on the plasterboard sheets, ensuring they fit snugly against the wall. Use a utility knife to trim the sheets to the desired size if necessary.
Install The First Sheet
Begin by installing the first sheet of plasterboard. Position it against the wall, ensuring it is level. Use a spirit level to verify this. Once level, secure the sheet to the wall using screws or nails. Place the fasteners regularly along the edges and in the centre, ensuring a secure attachment.
Continue Installing the Remaining Sheets
Repeat the process for the remaining plasterboard sheets. Position each sheet against the previous one, ensuring a tight fit. Stagger the joints between sheets to enhance stability and minimize cracking. Secure each sheet with screws or nails, ensuring they are flush with the surface but not over-tightened, as this can damage the plasterboard.
Address Corners
You have two options when encountering corners: using corner beads or creating a tapered joint. Corner beads provide a clean and durable finish, and you attach them to the corners using screws or nails. Alternatively, you can create a tapered joint by applying a joint compound in the corner and feathering it out gradually. This method requires more skill and patience.
Apply Joint Compound
To achieve a smooth and seamless finish, apply joint compound to the joints and screw/nail indentations. You can use a trowel to spread the compound evenly, covering the gaps and creating a flat surface. Allow the mixture to dry according to the manufacturer’s instructions, and then sand it down gently to achieve a smooth finish.
Finishing Touches
Inspect the surface for imperfections once the joint compound is dry and sanded. If necessary, apply another layer of compound and repeat the sanding process. After achieving a fine finish, you can paint or wallpaper the plasterboard as desired.
Installing plasterboard may seem daunting initially, but with the right tools, materials, and techniques, it can be a manageable task for beginners. By following this step-by-step guide and watching some tutorial videos online, you can install plasterboard confidently, creating sturdy walls and a professional finish. Remember to take your time, measure accurately, and pay attention to detail. You will develop the skills needed to tackle more complex projects with practice. So, grab your tools and embark on your plasterboard installation journey today!


